One thing I’ve spent time working on with my LEGO collection is to make my own decals. Initially the problem I had was that I wanted to do printing in white. This causes a whole world of problems with most printers in that they do not have white ink. If I printed on white sticker paper, I would have to color match the background color. I don’t think it works well, like this example:
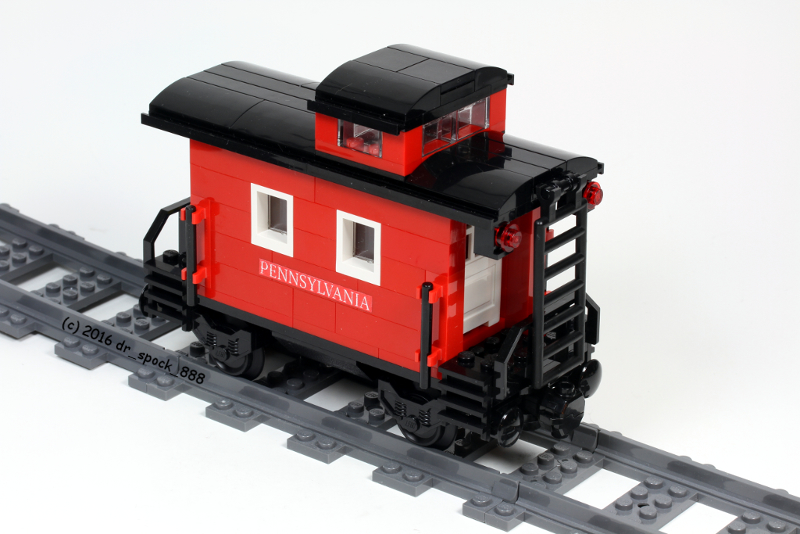
So I wound up buying the Silhouette Cameo Vinyl cutter. Vinyl in white is a common color and by cutting out the letters, I avoid having the background color matching problem. I also think the vinyl is more opaque than using traditional water slide decals (even if they exist in the size you need) so the resultant image has less color bleed through, especially when you traverse a color change. With this new vinyl cutter, I was able to do interesting decals like these:
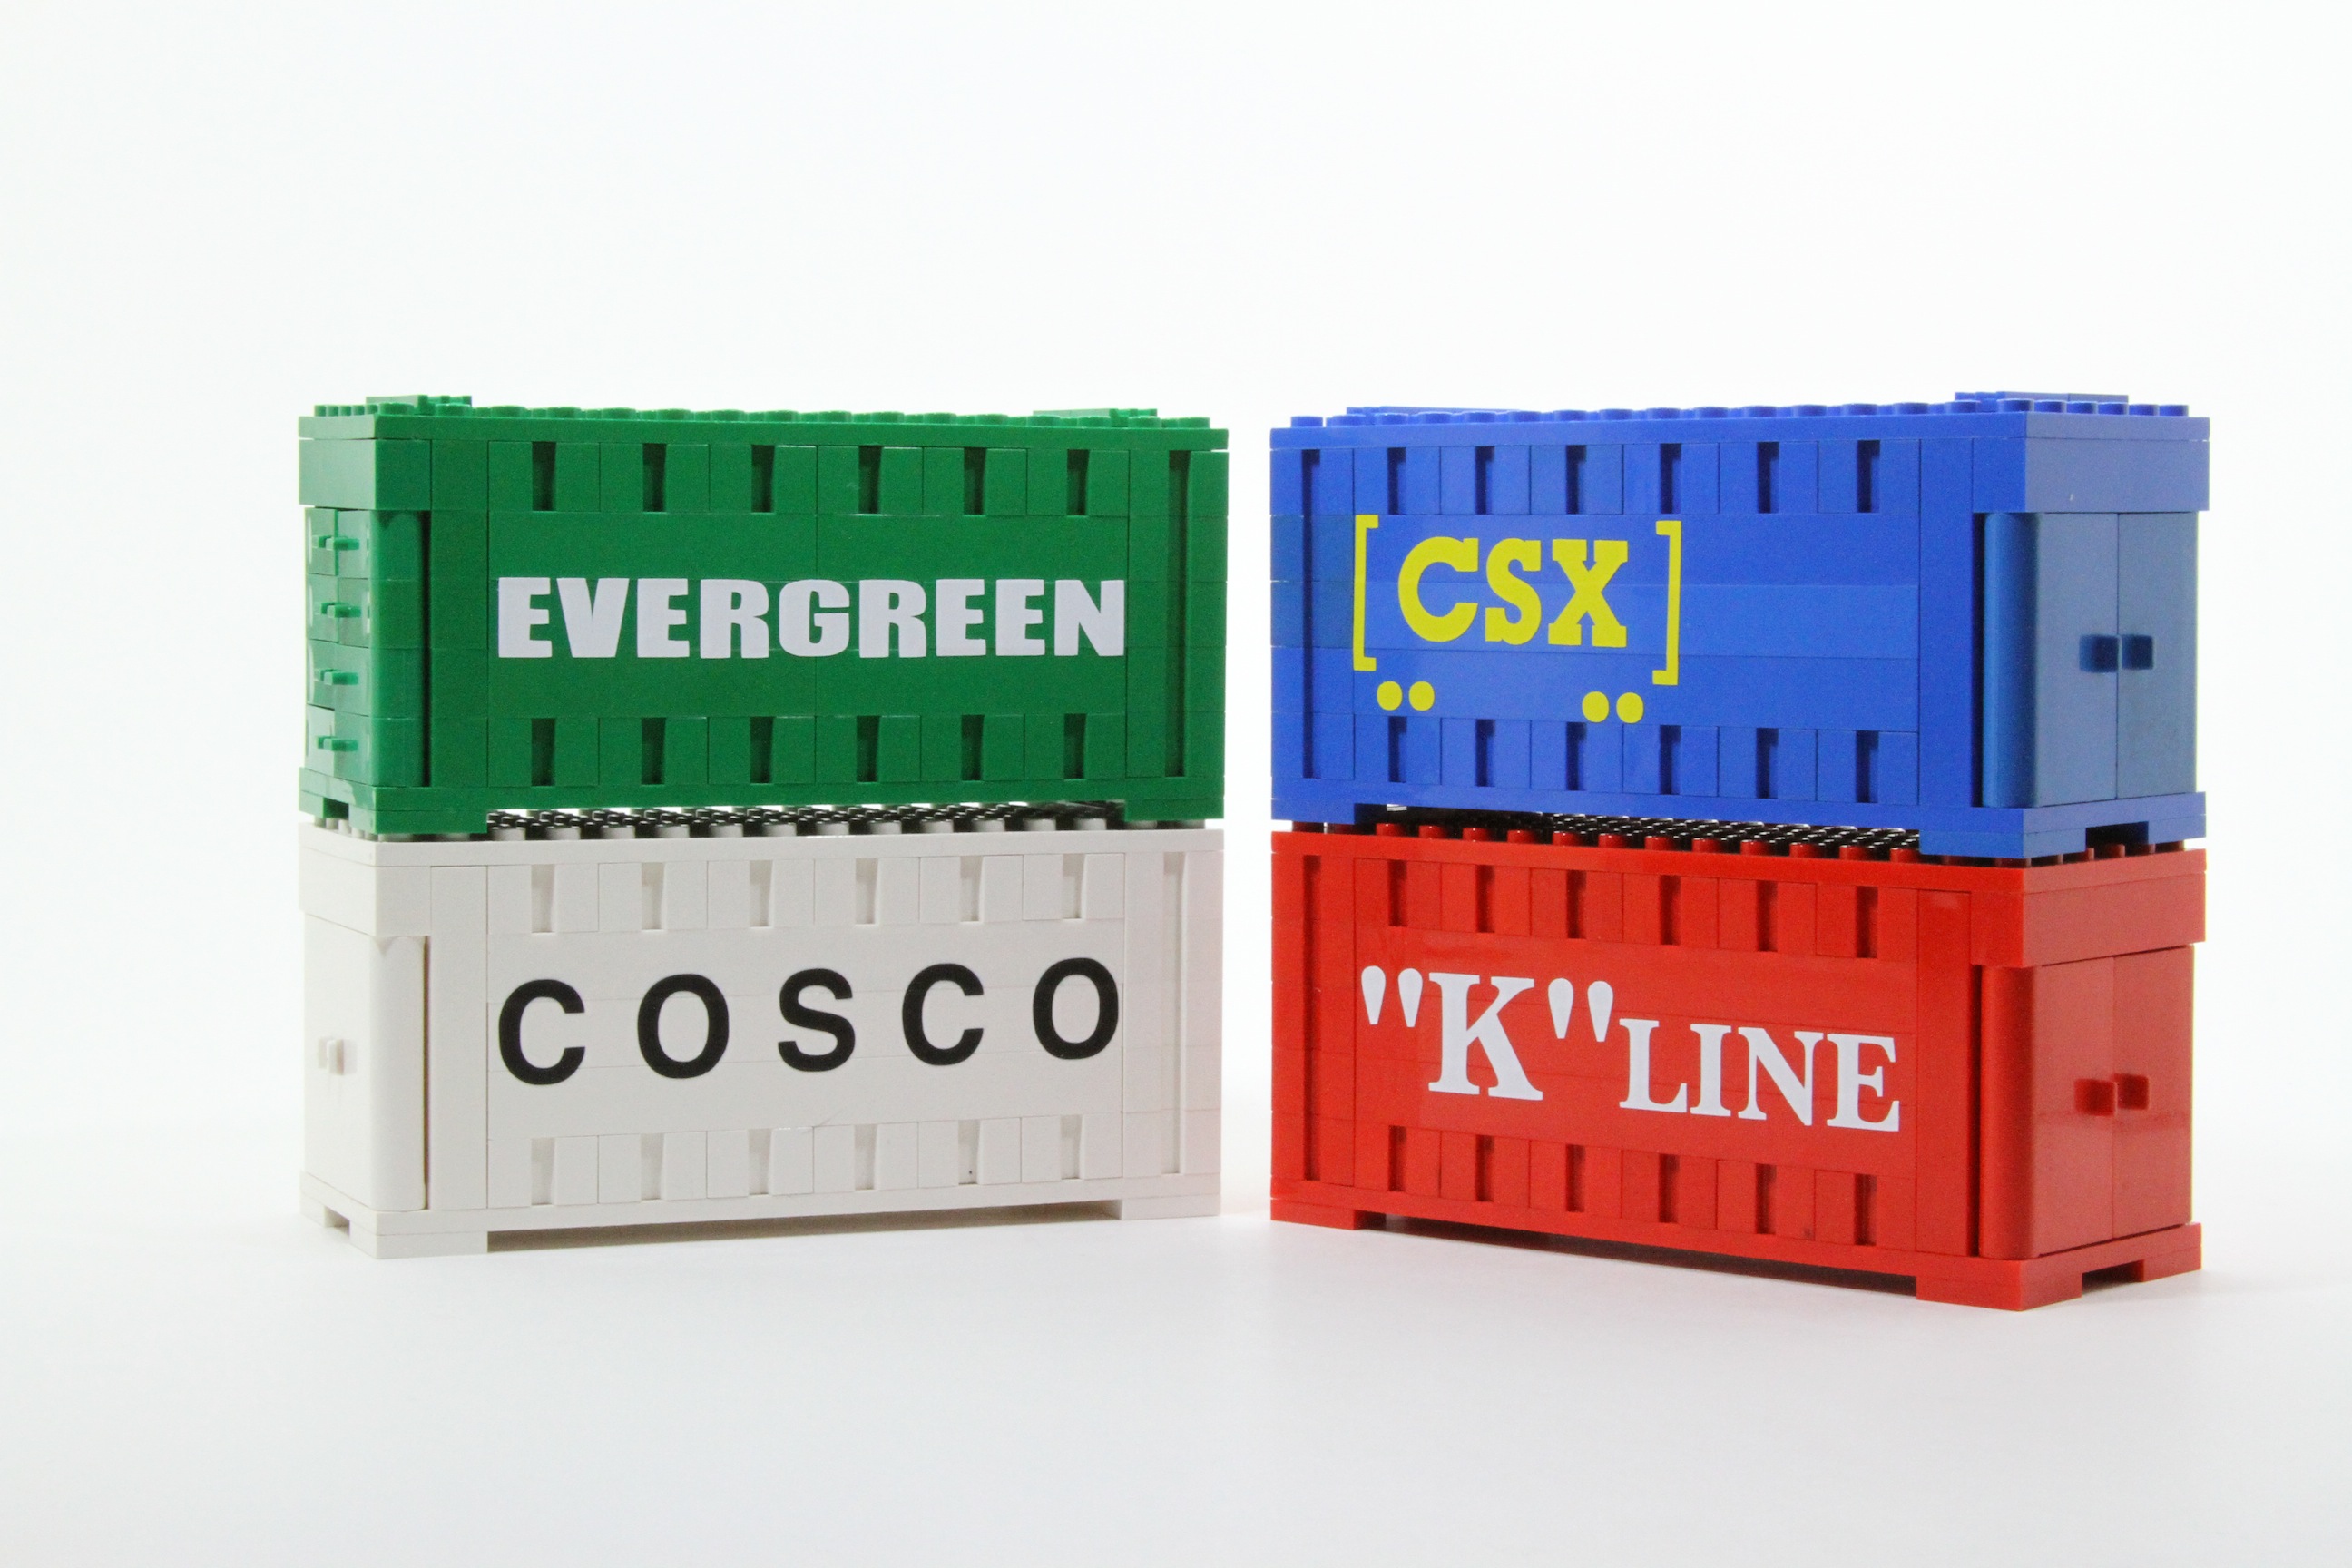


The last one is my most complicated work. Here are some of the interesting tidbits I have discovered while working on decals.
Artwork
When using the Cameo cutter, it comes with its own Silhouette Studio software to prepare the artwork and send the data to the cutter. The basic software comes with quite a bit of functionality but you can invest $50 for the deluxe version. This version will import more file types and has other features that I have not needed yet.
There are two ways to get the artwork into the software: import it from an image file and create it in the software itself. In the past I have done both.
The best image file to work with is a vector file and there are several formats out there including .svg, .dxf and .ai files. The .dxf is the only format supported in the default version of the software. I use an open source app called Inkscape to convert other formats into .dxf and then import into Silhouette Studio. Sometimes there is a need for cleanup after the import which I do within the Studio software itself. Having a large monitor and a tablet are tools that help the process.
Within Studio itself, I create artwork based on fonts. When I was working on my intermodal shipping containers, I used stock Mac fonts to create what I was looking for. HeadlineA, Helvetica Bold, Arial, and Bakersville Bold are the four fonts I used in the containers above.
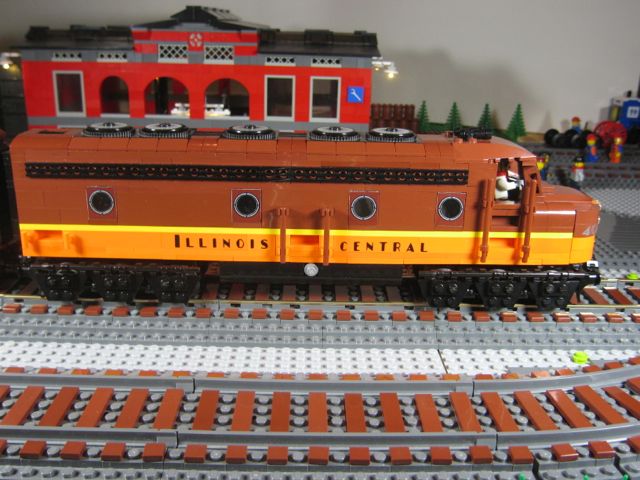
Later on, doing the work for the Illinois Central [Gulf] trains, I needed to buy rail specific fonts and I went to railfonts.com, they were relatively inexpensive. I installed the fonts in the base Mac system and the Studio software was able to access them just fine.
Vinyl
There are several different manufactures of vinyl that I know of. The two most common vendors are Silhouette and Cricut. I find, especially in white, the Silhouette is thicker and a bit more opaque than the Cricut vinyl. This is not to say that the Cricut vinyl is bad or not useful; it really depends on what you are trying to do. I specifically bought the Cricut vinyl to solve the problems I had with trying to make smaller decals. Since the Cricut is thinner than the Silhouette vinyl, it works better for smaller fonts (see size limitations below).
The Illinois Central Gulf lettering above is on a 1 x 6 Flat Tile piece and only was achievable with the Cricut vinyl. One change I had to make was to adjust the depth of the knife, lowering the number by about 1/2. Since the vinyl is thinner you wind up cutting through the backing if you use the same setting as the Silhouette vinyl.
There are also some 3rd party vinyl places on the net. I use expressionsvinyl.com because they seem to have a larger selection of colors than Silhouette or Cricut. The Oracal produced vinyl they sell is the same thickness as the Silhouette vinyl and I find I do not need to make any knife depth adjustments.
Color Matching
Color matching LEGO brick colors can be hard. In fact, that was the basis of my decision to get the vinyl cutter. For example there is a subtle shade difference between the Silhouette White and the Cricut White. The former has a bit more blue tint than the latter. Think of the difference between cool white LEDs and warm white LEDs. The color is also affected by the color of the underlying brick you put it on.
Cricut (L) and Silhouette (R) White
This is a color chart of the closest matches I have current found, I’ll try to keep it updated as I find more matches.
| LEGO Color | Swatch | Vinyl |
|---|---|---|
| Black | 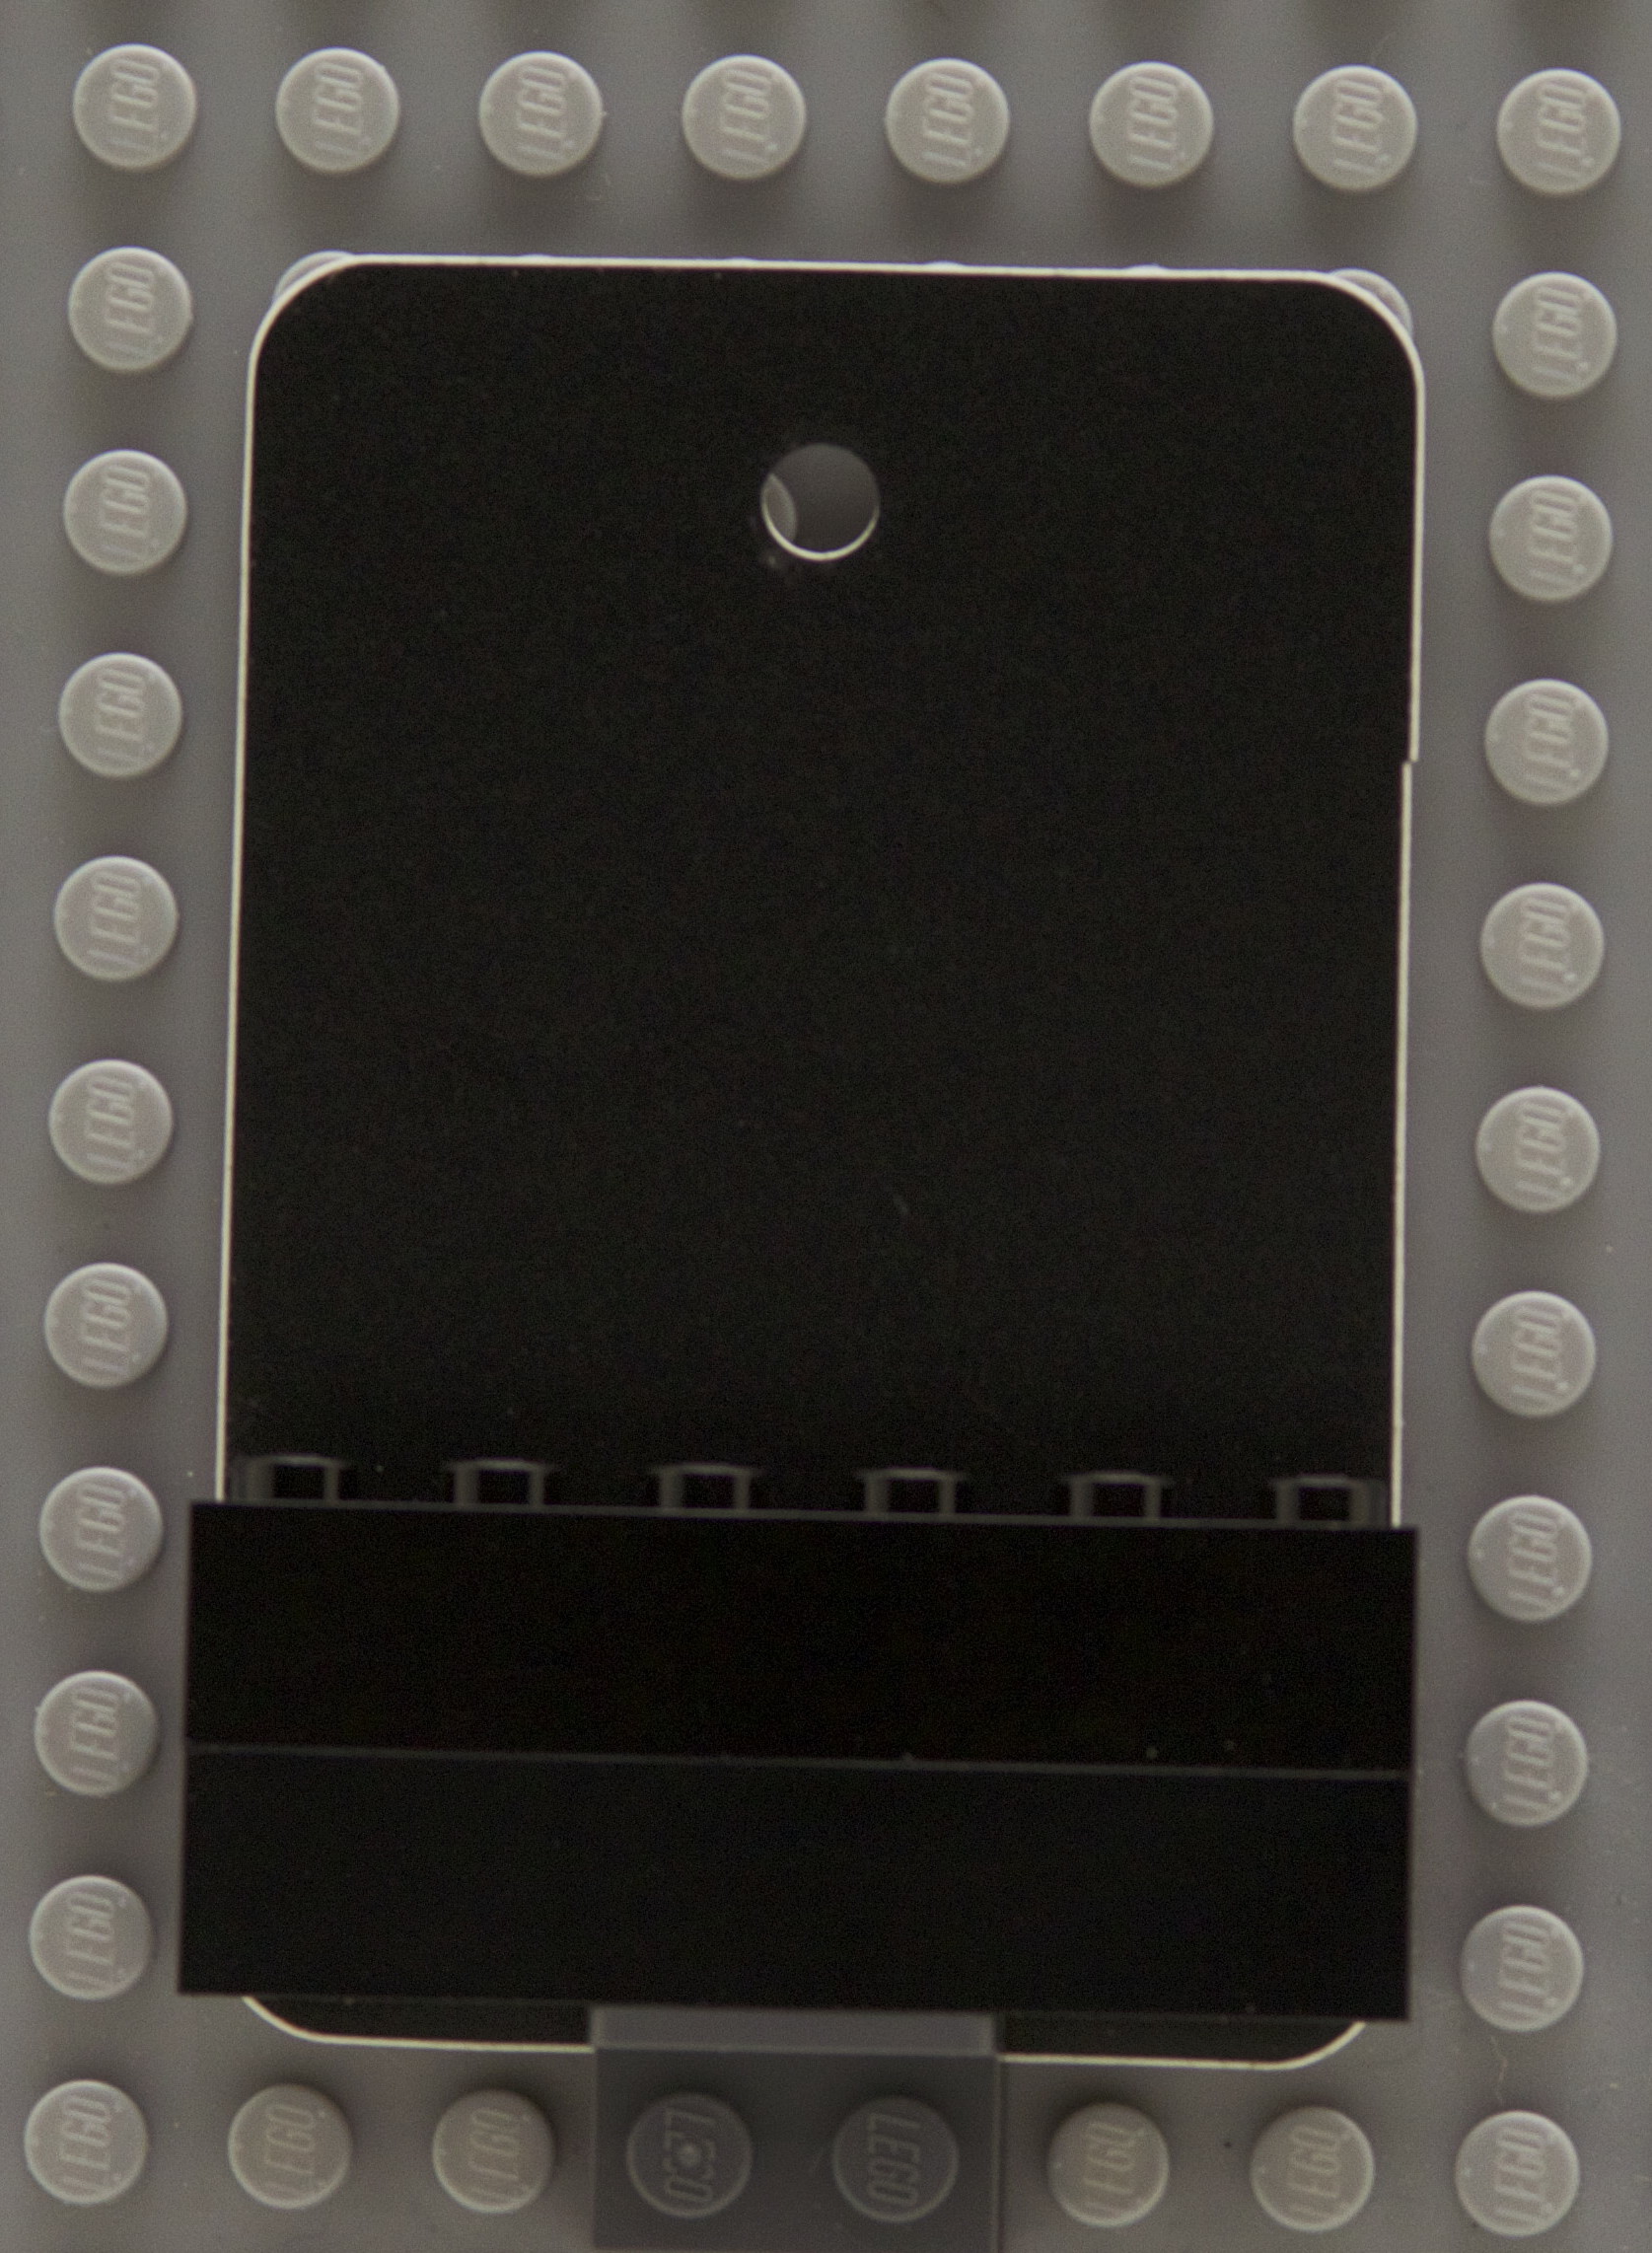 |
Oracal 631 Calendared Matte Adhesive Vinyl in Black |
| Blue | 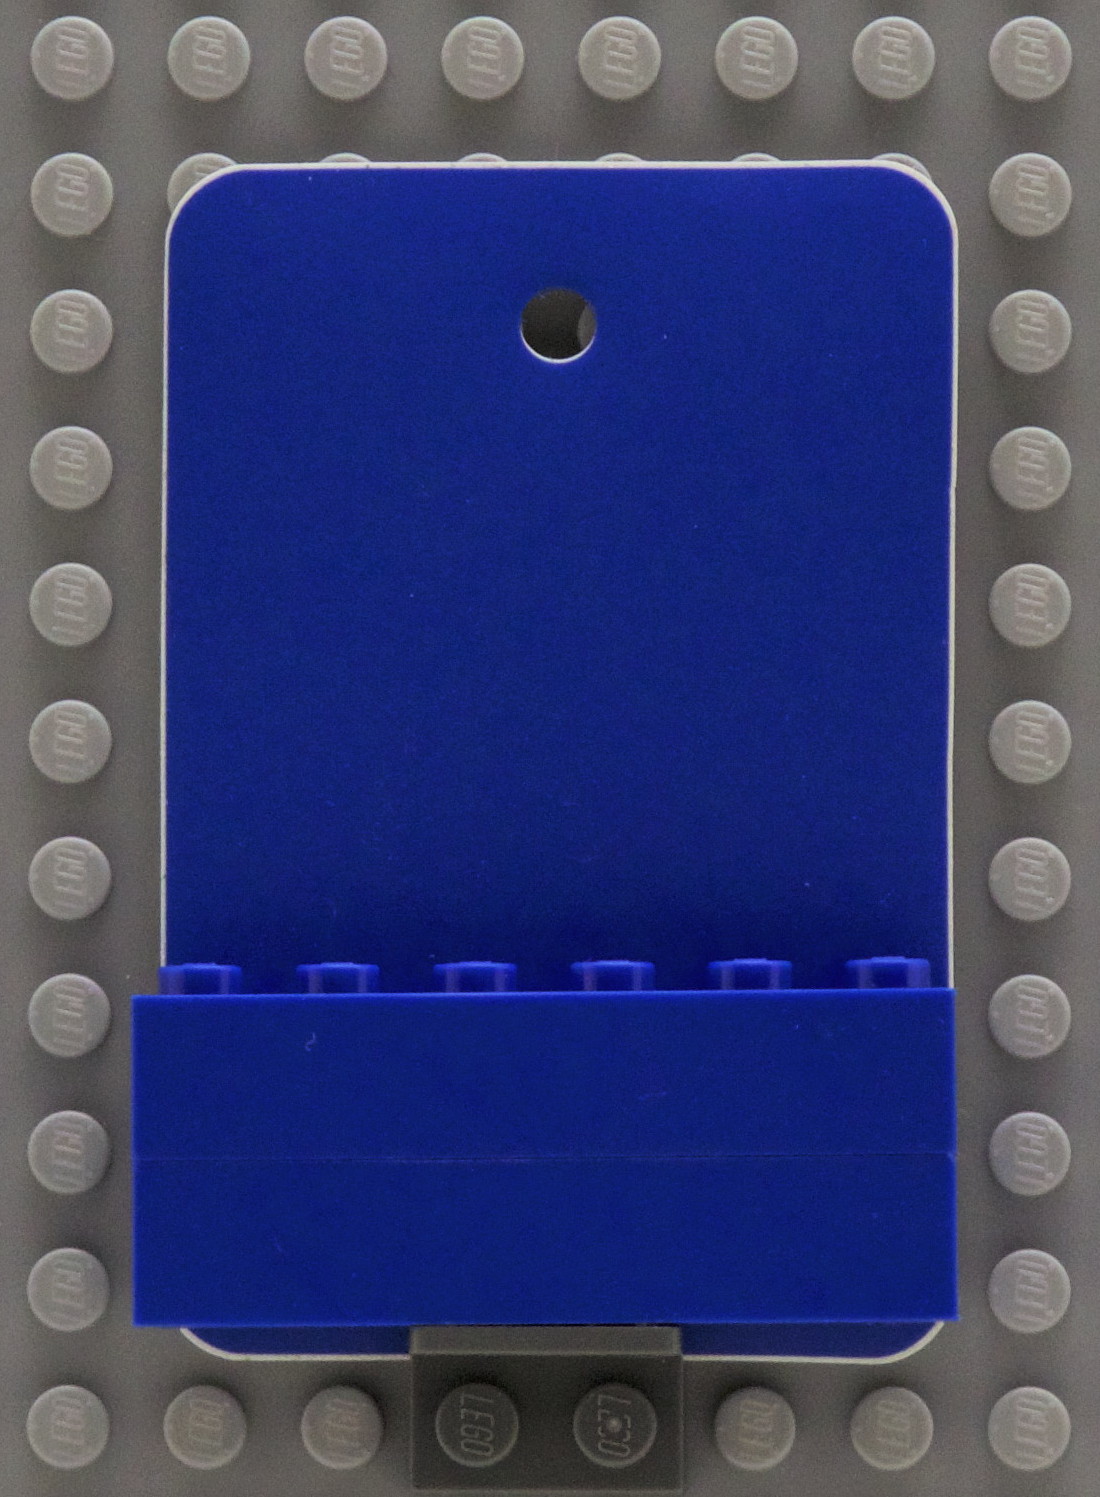 |
Oracal 631 Calendared Matte Adhesive Vinyl in Gentian |
| Cool Yellow | 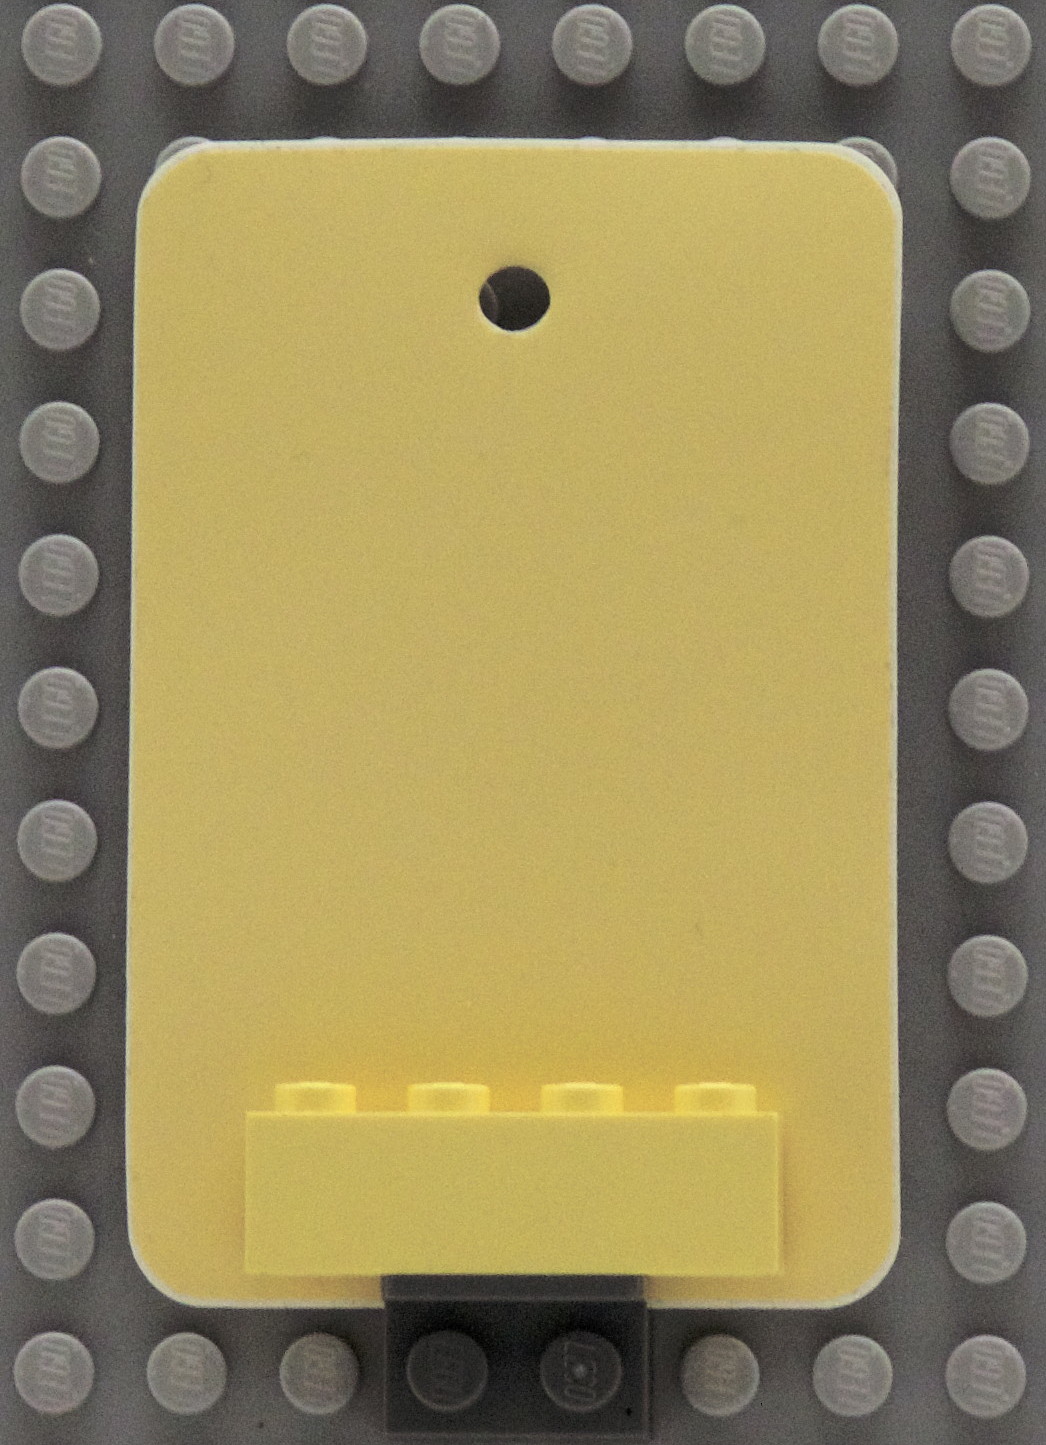 |
Oracal 631 Calendared Matte Adhesive Vinyl in Maize |
| Dark Blue | 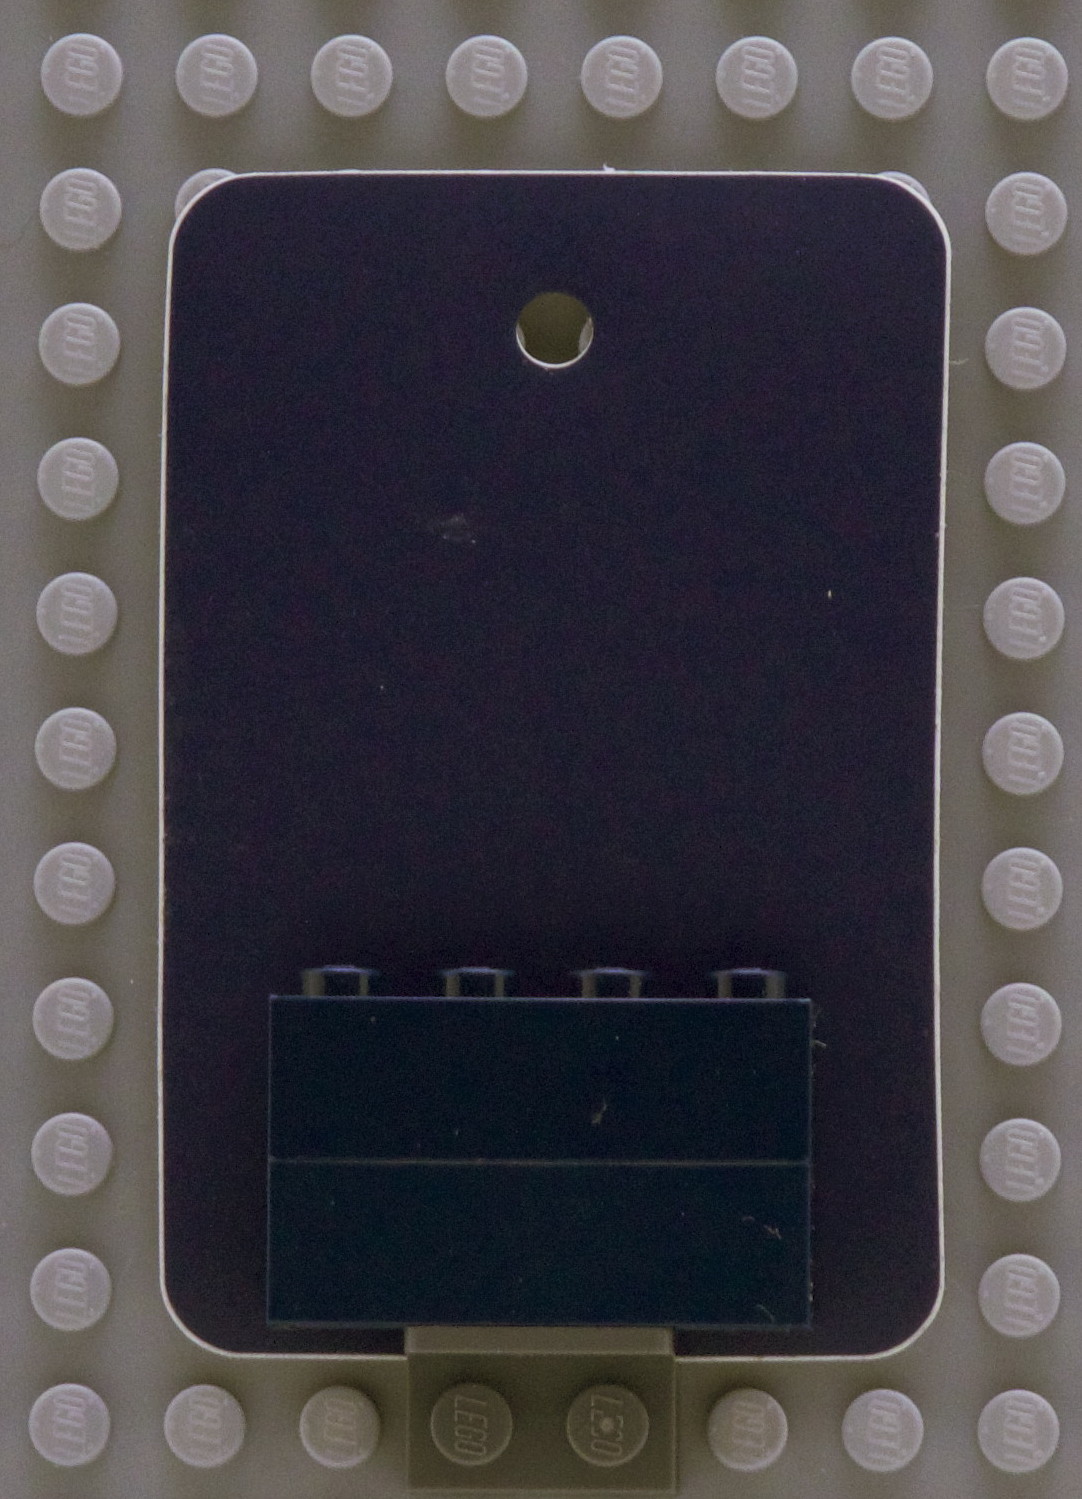 |
Oracal 631 Calendared Matte Adhesive Vinyl in Dark Blue |
| Dark Brown |  |
Oracal 631 Calendared Matte Adhesive Vinyl in Brown |
| Dark Red | 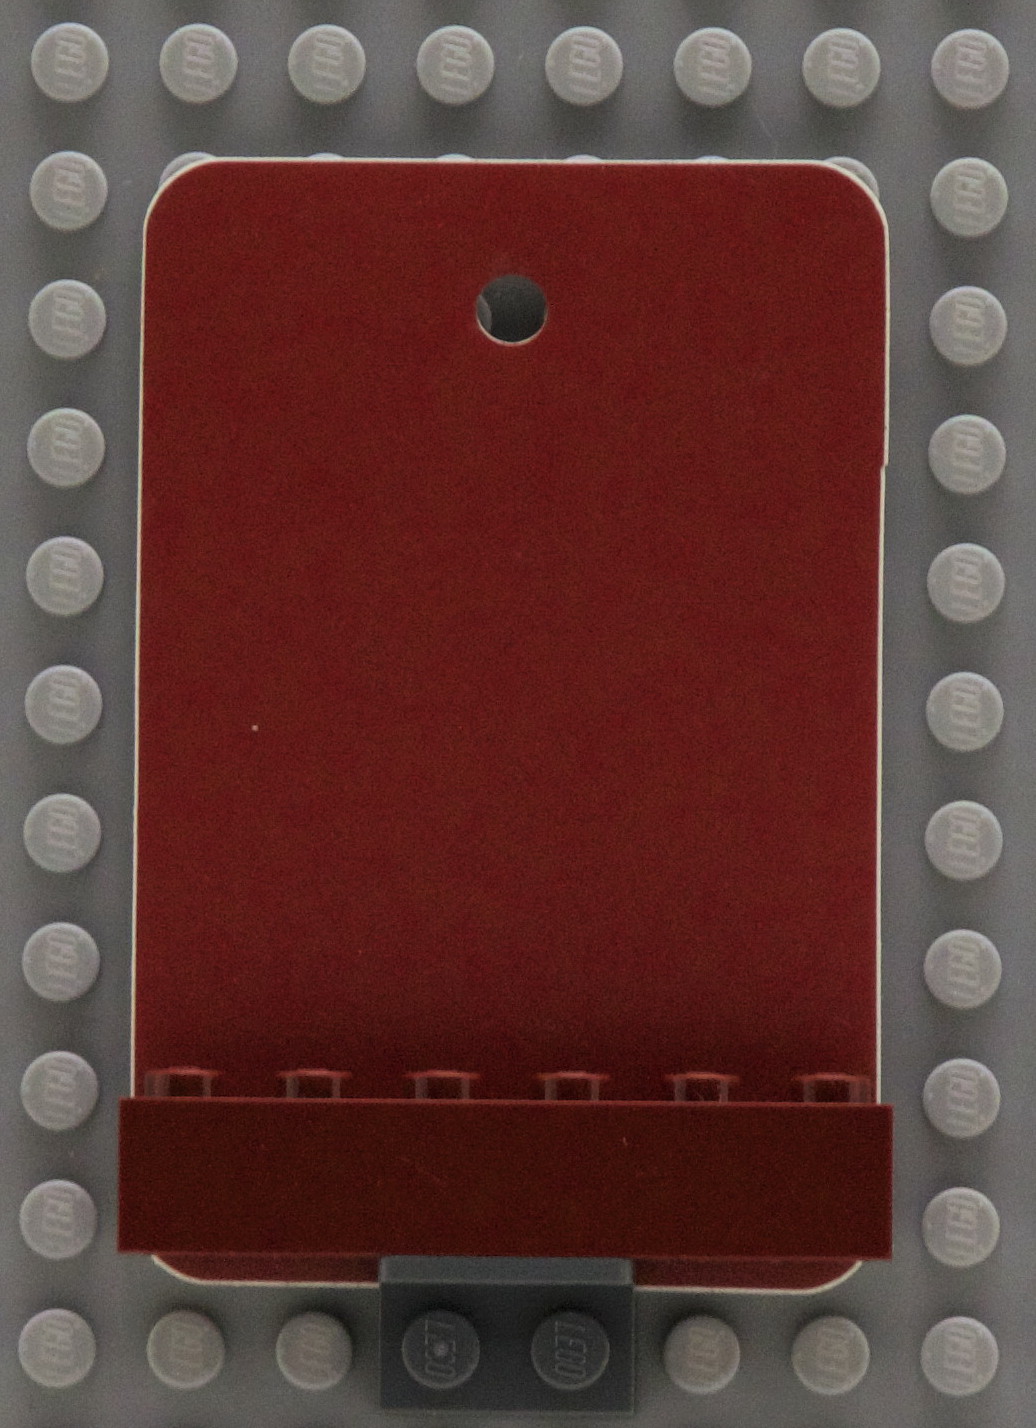 |
Oracal 631 Calendared Matte Adhesive Vinyl in Dark Red |
| Dark Tan | 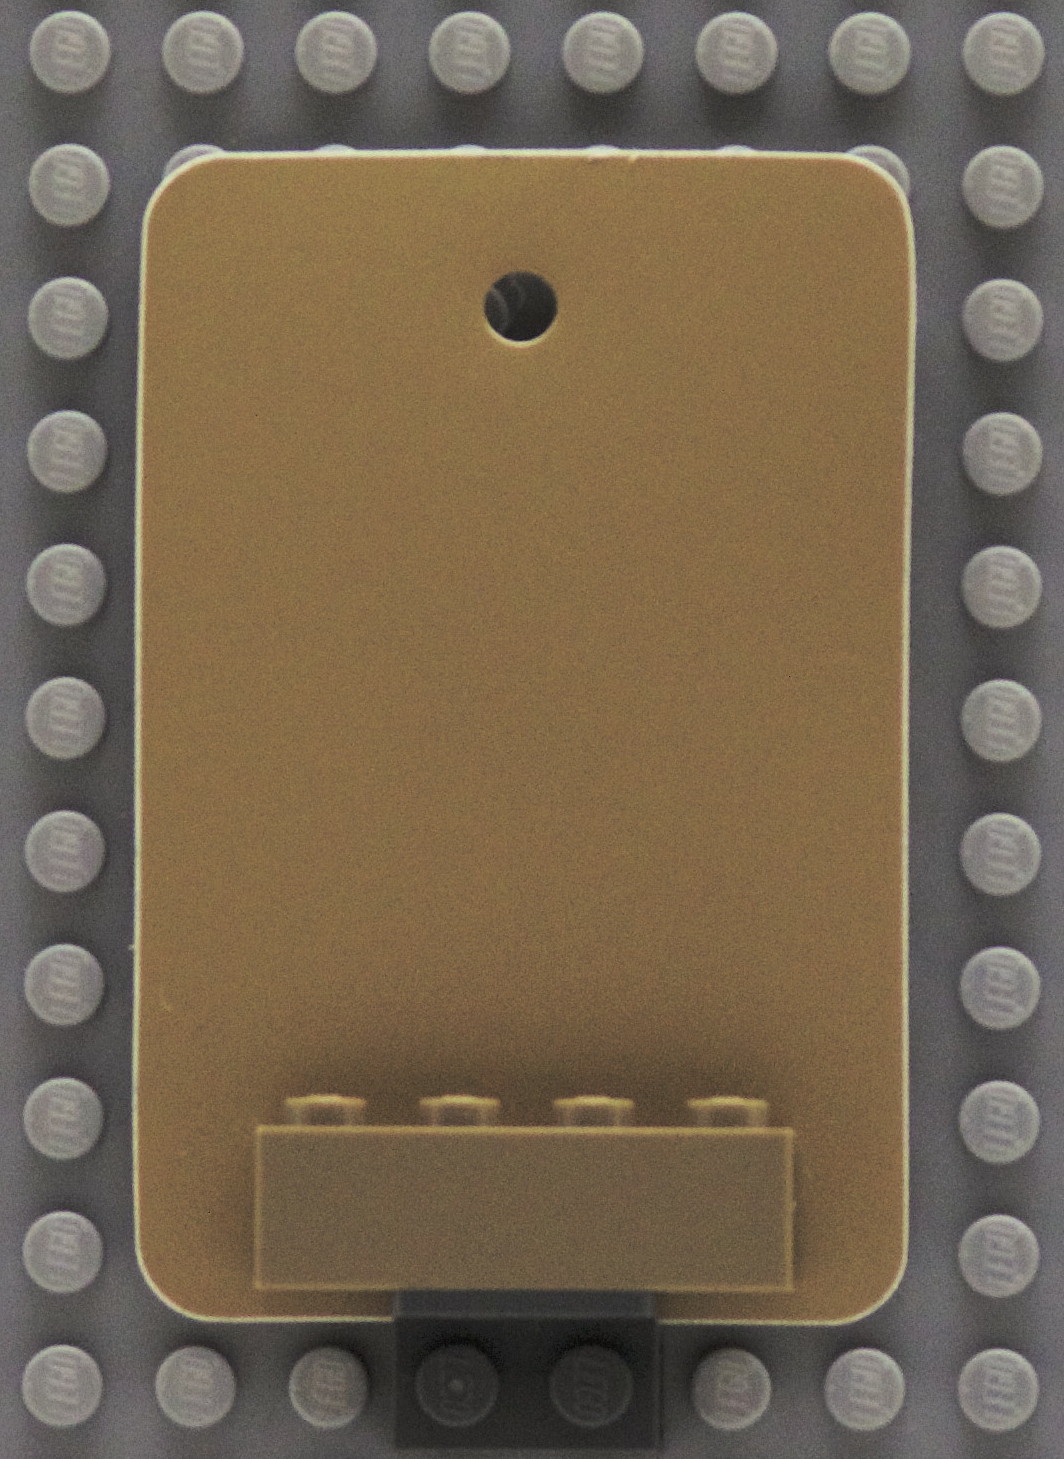 |
Oracal 631 Calendared Matte Adhesive Vinyl in Light Brown |
| Maersk Blue | 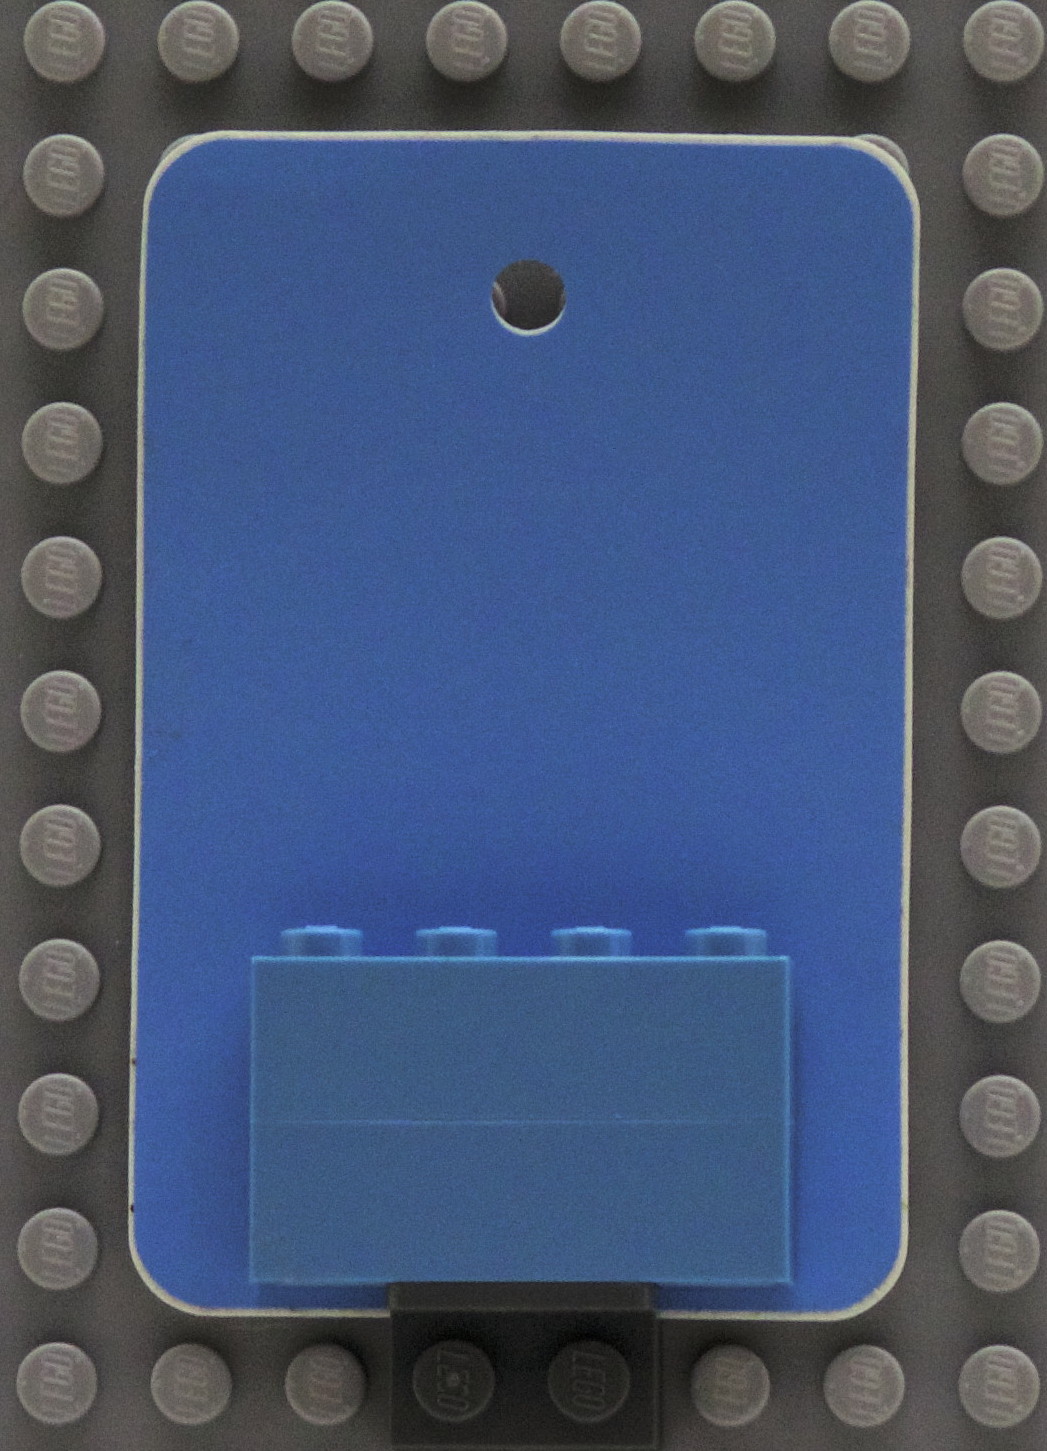 |
Oracal 631 Calendared Matte Adhesive Vinyl in Ice Blue |
| Medium Dark Flesh |  |
Oracal 631 Calendared Matte Adhesive Vinyl in Nut Brown |
| Medium Dark Pink |  |
Oracal 631 Calendared Matte Adhesive Vinyl in Pink |
| Orange |  |
Oracal 631 Calendared Matte Adhesive Vinyl in Persimmon |
| Red |  |
Oracal 631 Calendared Matte Adhesive Vinyl in Red |
| Tan |  |
Oracal 631 Calendared Matte Adhesive Vinyl in Beige |
| White | 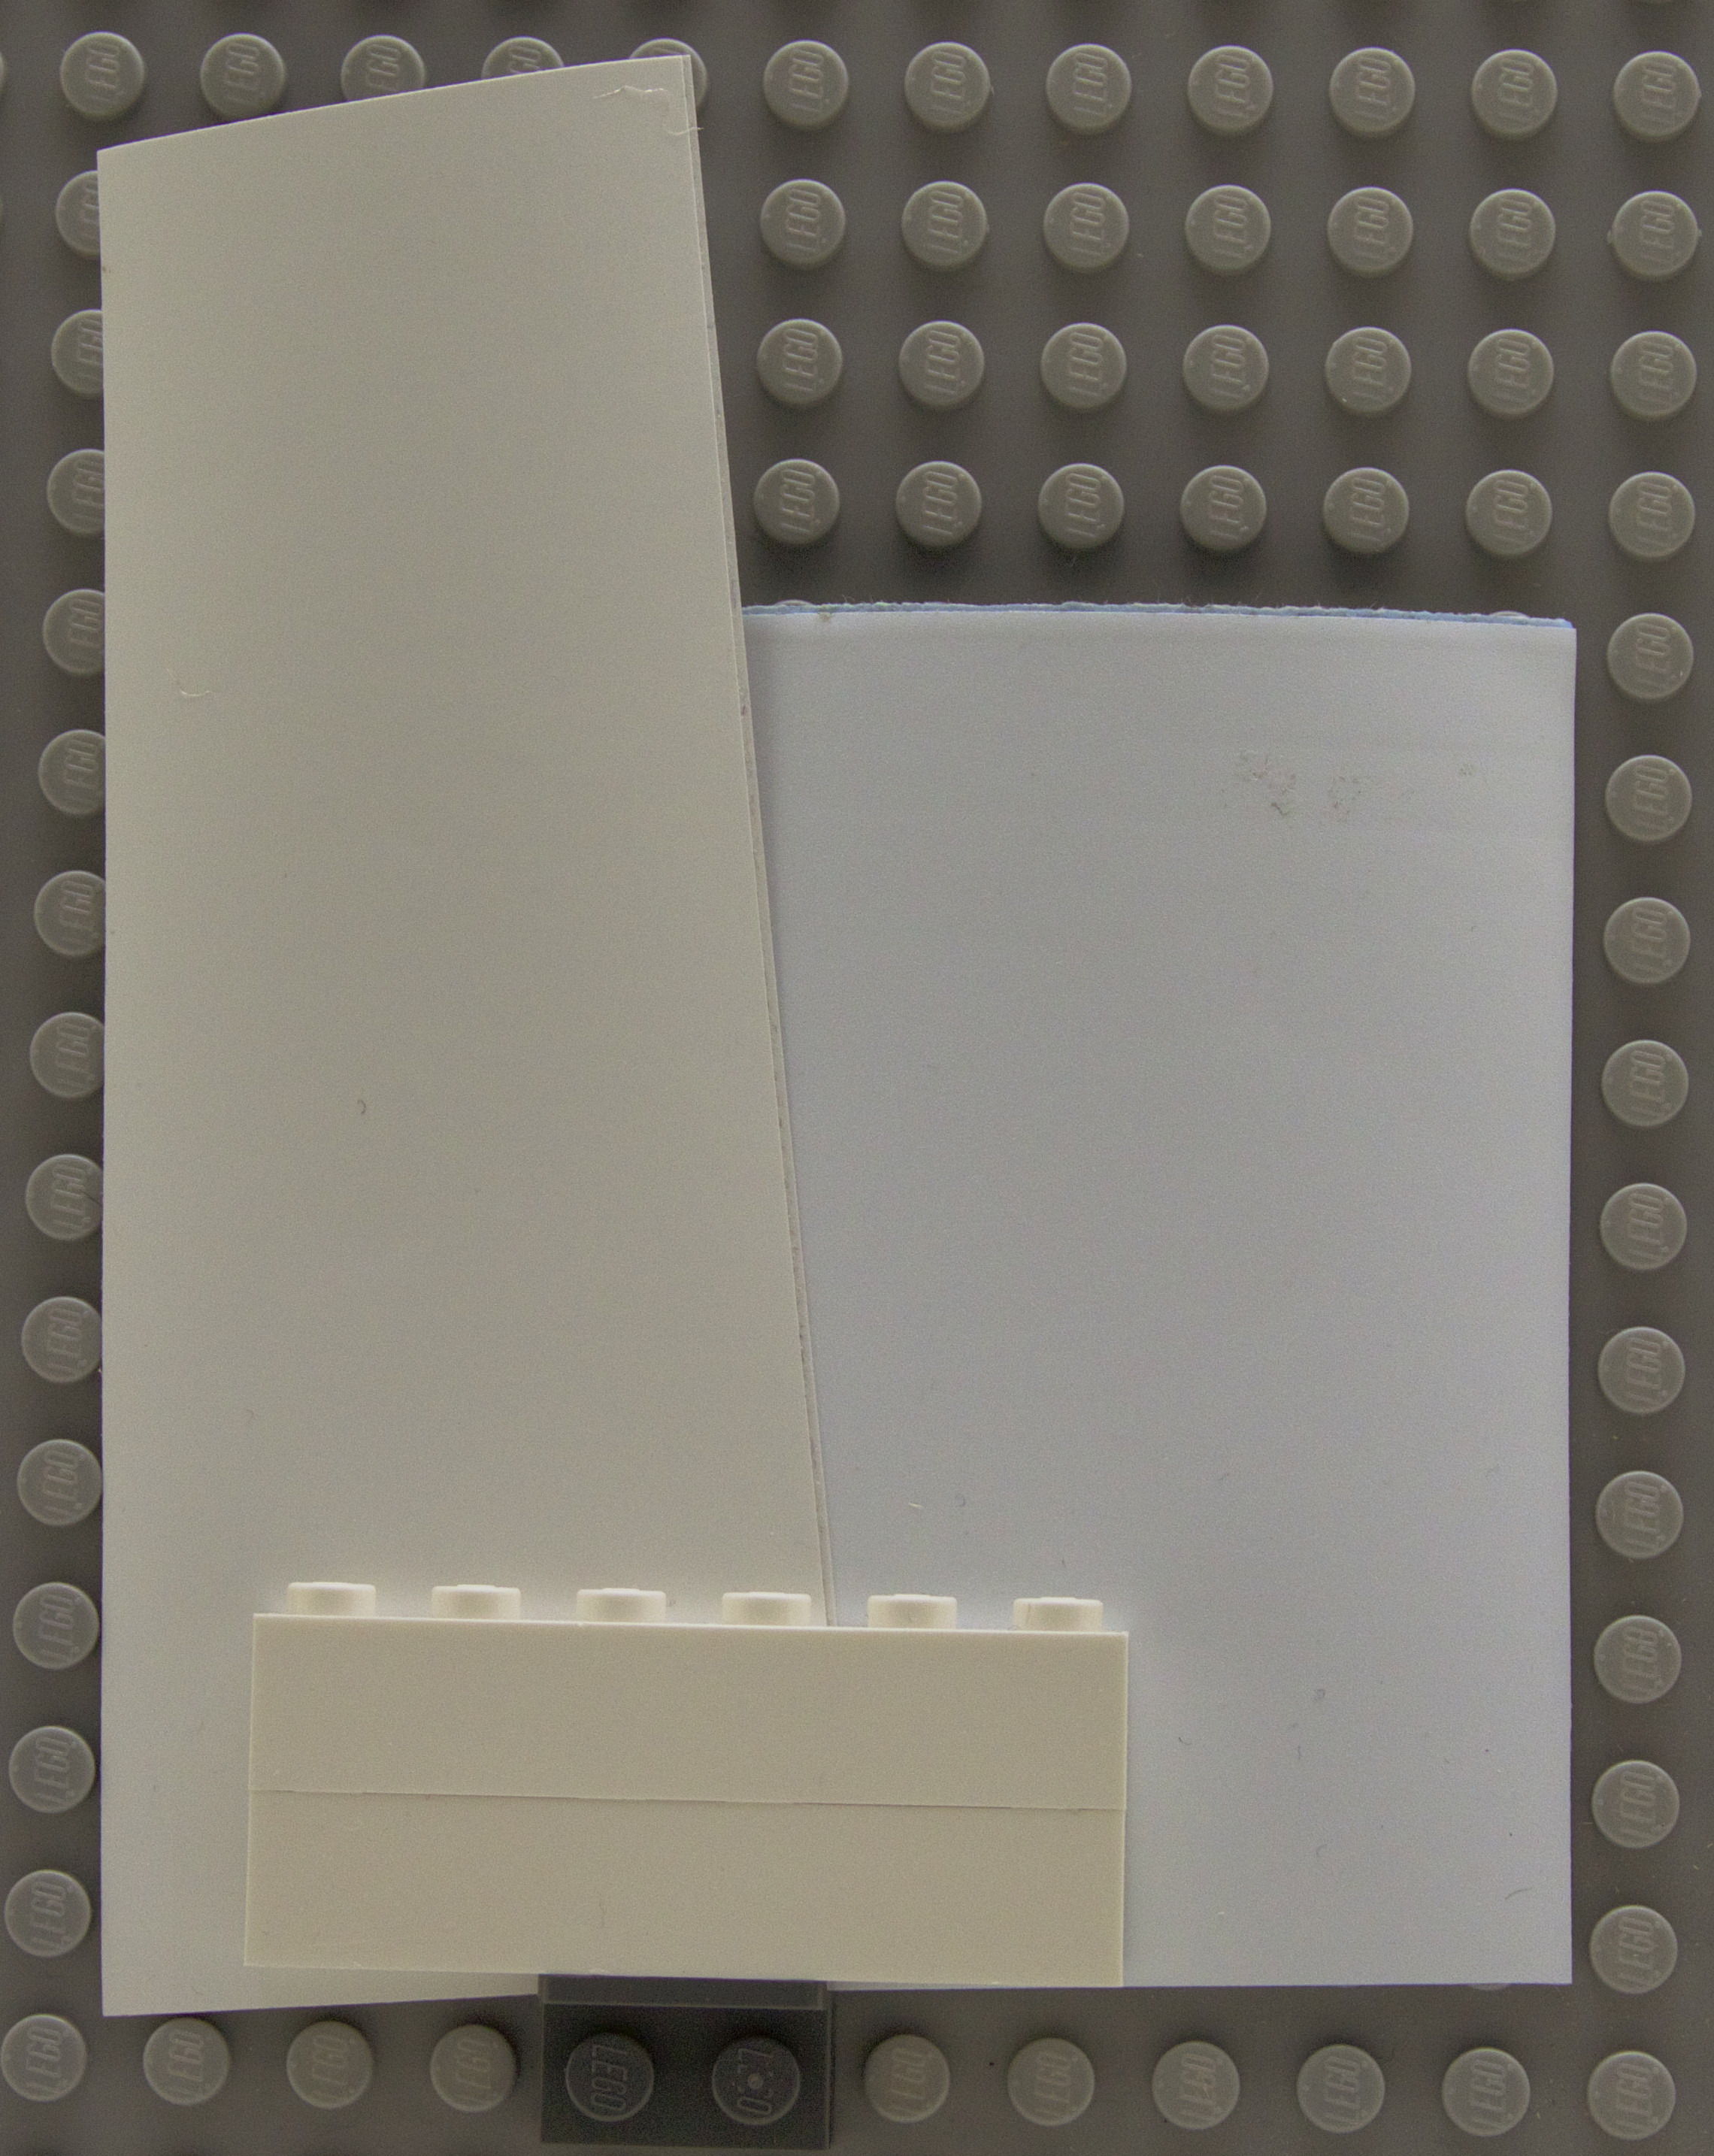 |
Cricut White
Oracal 631 Calendared Matte Adhesive Vinyl in White |
| Yellow |  |
Oracal 631 Calendared Matte Adhesive Vinyl in Light Yellow |
I wound up buying the samples kit from Expressions Vinyl to help with the color matching. That is how I knew the Persimmon was going to be the best match for LEGO Orange, though I did buy a few other shades of orange in case the swatch was no longer accurate.
Transferring
There are at least two different ways I transfer the cut vinyl to my model: with tape and with tweezers.
Tape
I used to exclusively use the transfer roll that came with my Silhouette but more recently I have started to use blue painter’s tape. It really depends on which tape provides the most contrast between the tape and the vinyl. When transferring white vinyl, the blue painter’s tape works the best. For black vinyl, the transfer tape works the best.
Once the vinyl has been set on the model, press down as hard as possible. When I pull the tape up, I make sure not to pull straight up.
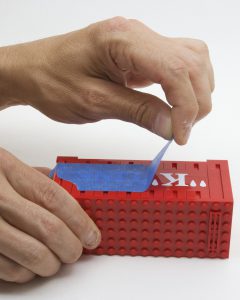
Don’t do it this way!
I want to create a sharp edge, almost a crease, between the tape and the vinyl.
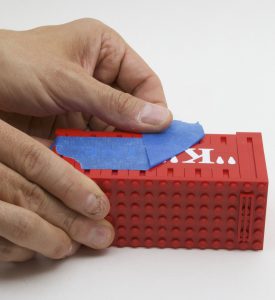
Proper way to pull
I found if I did it perpendicular to the vinyl, I had more chances of actually pulling up the vinyl when trying to remove the tape. Re-positioning the vinyl after it has moved is very problematic. Some of the City of New Orleans vinyl moved while it was being cut (see the size limitations below) and you can see some of them need to be redone.
You also should look at the artwork you are transferring and decide which way is the best way to pull the tape. Some directions will work better than others, usually leaving the thinnest and smallest tails being pulled straight back.
Tweezers
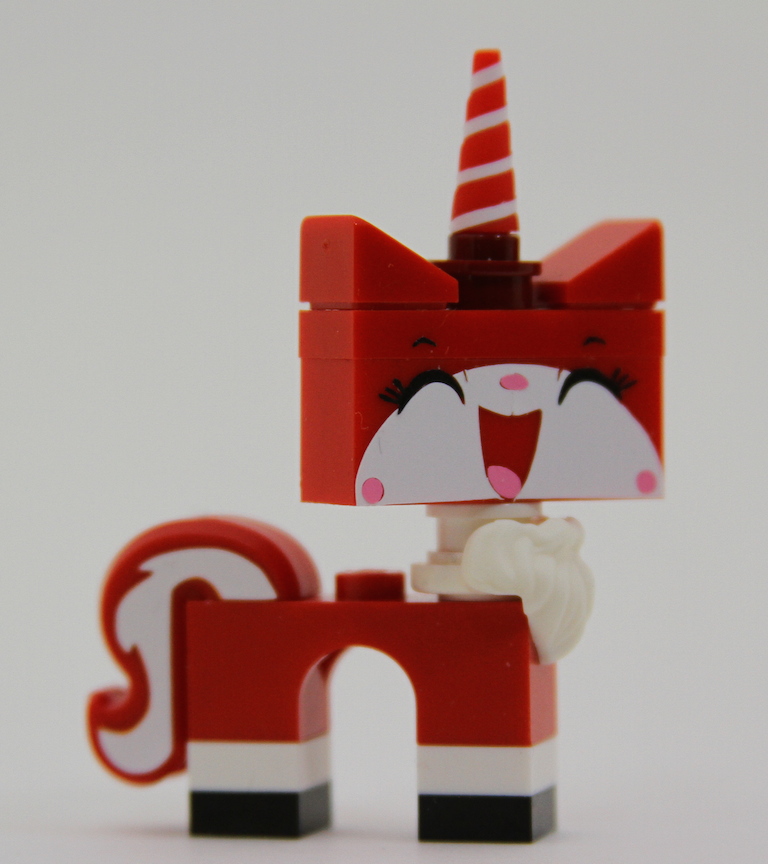
When transferring with tweezers, I actually transfer the biggest piece with tape first. I then use the edges of the existing vinyl to align the smaller pieces. This is how I did the face of Christmas Unikitty (last picture above). The white was set with tape and then the black and pink were set with tweezers by hand. The white had cut outs I used to align the black and pink. I found it useful to have a good light source and tweezers.
Limits of what you can create
Size
You can only go so small with this vinyl cutter before you lose resolution and have issues with transferring the artwork. On the thicker vinyl, the letters have a tendency to shift as they are being cut and you will not get crisp letters or correct alignment. You can solve this problem by going to the thinner vinyl but that will work only so far. If you need anything really small and intricate (smaller than the Unikitty eyebrows), you need to use some other method.
Shading
I had wanted to create a second billboard, like the NILTC billboard above, for BrickStuff lights but their logo is quite complicated. This causes all sorts of issues with vinyl. First there are gradients of color, almost impossible to achieve in vinyl. I also ran into the issue of size when trying to create the lettering shadows. For now, I have printed the logo on my laser printer, but white does not match :/ I will reattempt this using clear sticker paper since I at least do not need to print white.